Installation
tidemarq runs as a Docker Compose stack using a pre-built image. A single command starts everything — the Go backend, the React UI, the SQLite database, and a self-signed TLS certificate. No git clone required.
Prerequisites
- Docker Engine 24+ and Docker Compose v2
- Any Linux host (amd64 or arm64), macOS, or Windows with WSL2
- Ports 8716 and 8717 available on the host
1. Get the Compose file
Grab docker-compose.yml
from the repository (use the Raw or Download buttons on GitHub) and place
it in a new directory for tidemarq.
On first start tidemarq creates an admin account with username admin and password admin123. Log in and change the password immediately via Settings → Users.
2. Start the stack
$ docker compose up
The first start pulls the image from ghcr.io/puckrin/tidemarq:latest (typically under a minute).
On first run you will see log lines confirming:
- TLS certificate generated (unless you supplied your own)
- JWT signing secret generated and persisted to
<data_dir>/.jwt_secret - Database migrations applied
- Default admin account created
- Server listening on
:8716(HTTP redirect) and:8717(HTTPS)
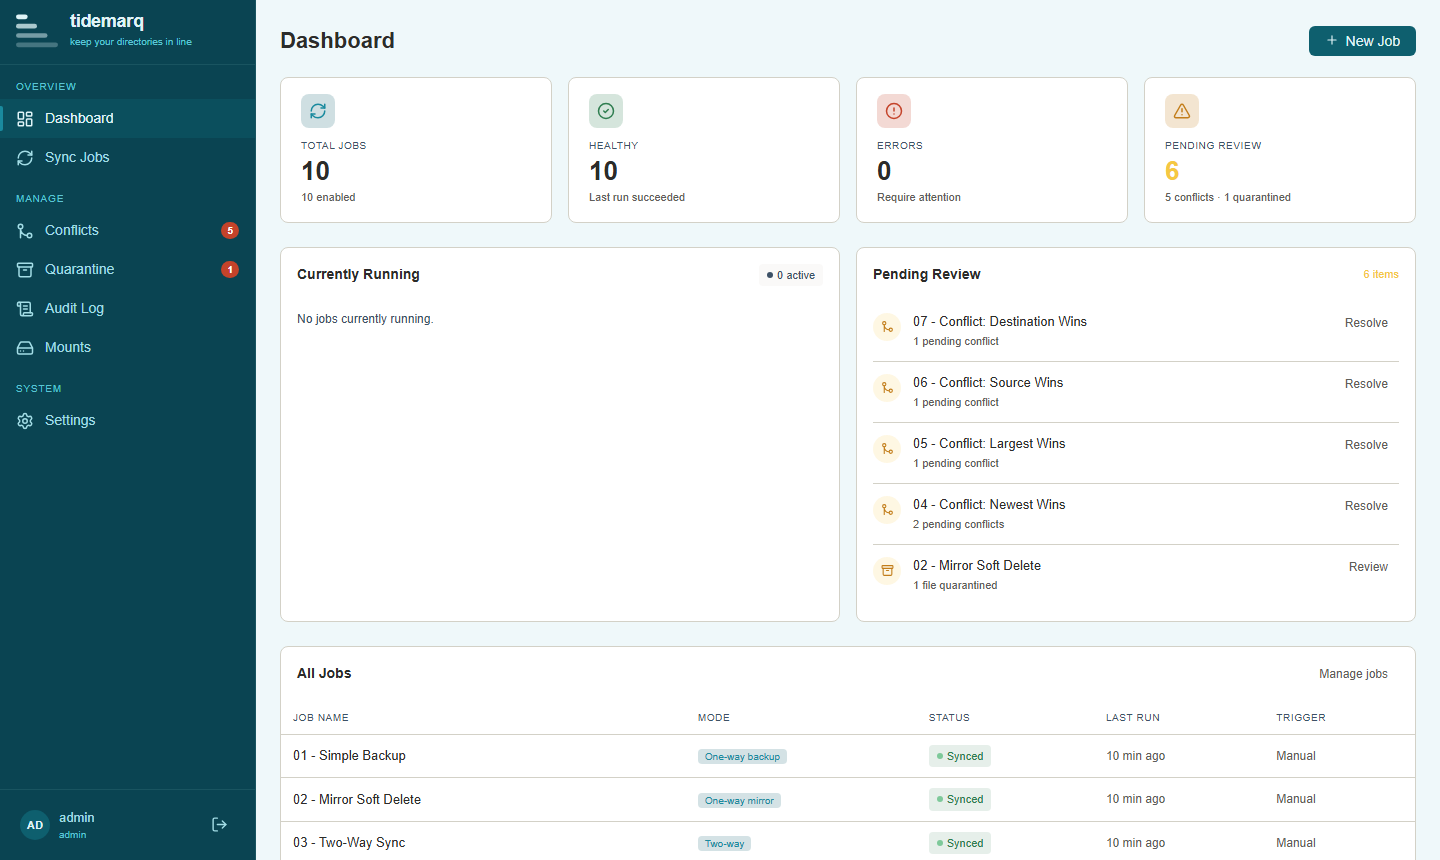
3. Open the UI
Navigate to https://localhost:8717. Your browser will warn about the
self-signed certificate — accept the exception to proceed. Log in with the admin
credentials you configured.
To use a real TLS certificate, set server.tls_cert and server.tls_key
in your config to the paths of your certificate and private key files, then mount them into the container.
Upgrading
Pull the latest image and restart:
$ docker compose pull
$ docker compose up -d
Database migrations run automatically on startup. Your data directory is preserved in the volume mount and is not affected by the upgrade.
Running in detached mode
Add -d to run the stack in the background. Use
docker compose logs -f to follow logs and
docker compose down to stop.
Exposing host directories
To make directories on the host machine available as sync sources or destinations, add
bind mounts to the volumes section of docker-compose.yml:
volumes:
  - ./data:/data

  # Add your directories below:
  - /srv/media:/mnt/media
  - /srv/documents:/mnt/documents:ro   # :ro = read-only
  - /srv/backups:/mnt/backups
The path on the right-hand side (e.g. /mnt/media) is the
container path — this is what you enter as a source or destination when creating a sync
job in the UI. Restart the stack after editing:
$ docker compose up -d
Next steps
- Configure tidemarq — review all available settings
- Create your first sync job
- Connect network mounts (SMB, SFTP)